måndag 30 maj 2016

The last day of the project

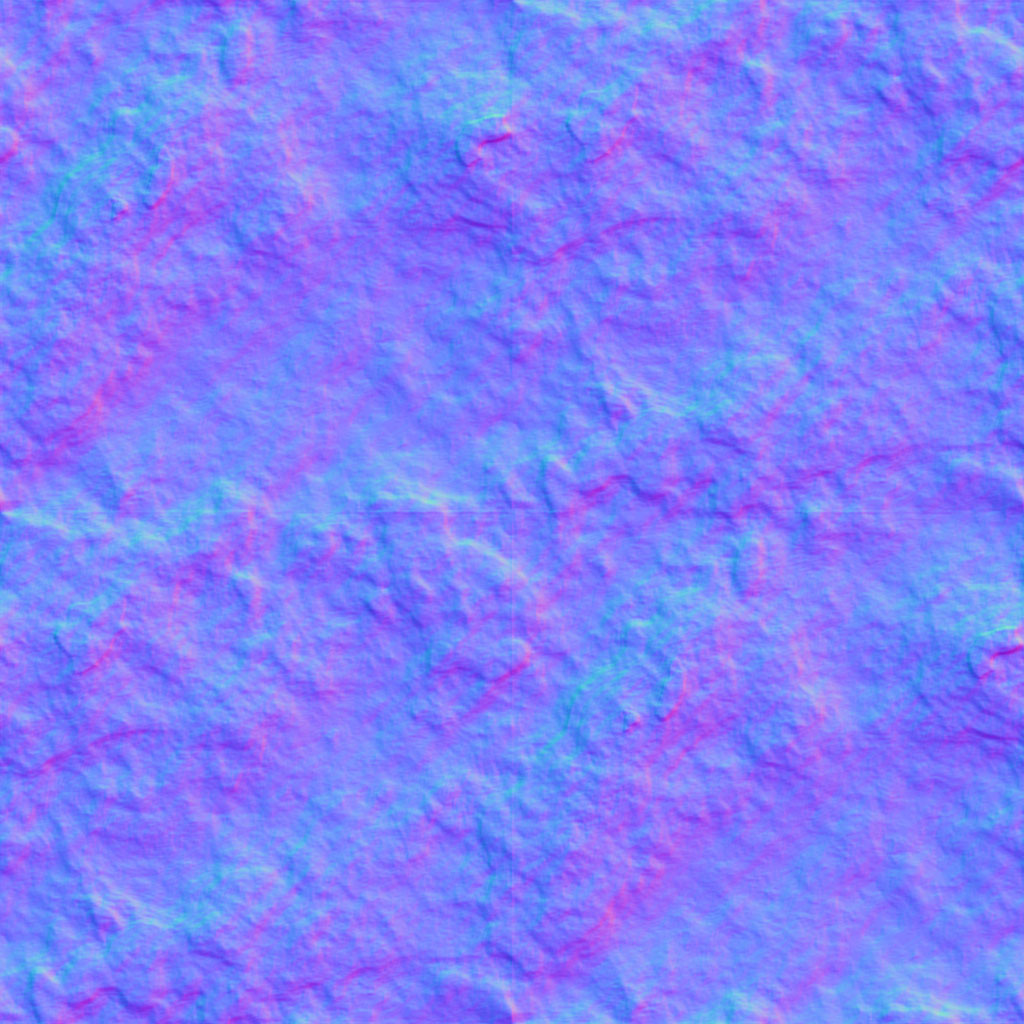
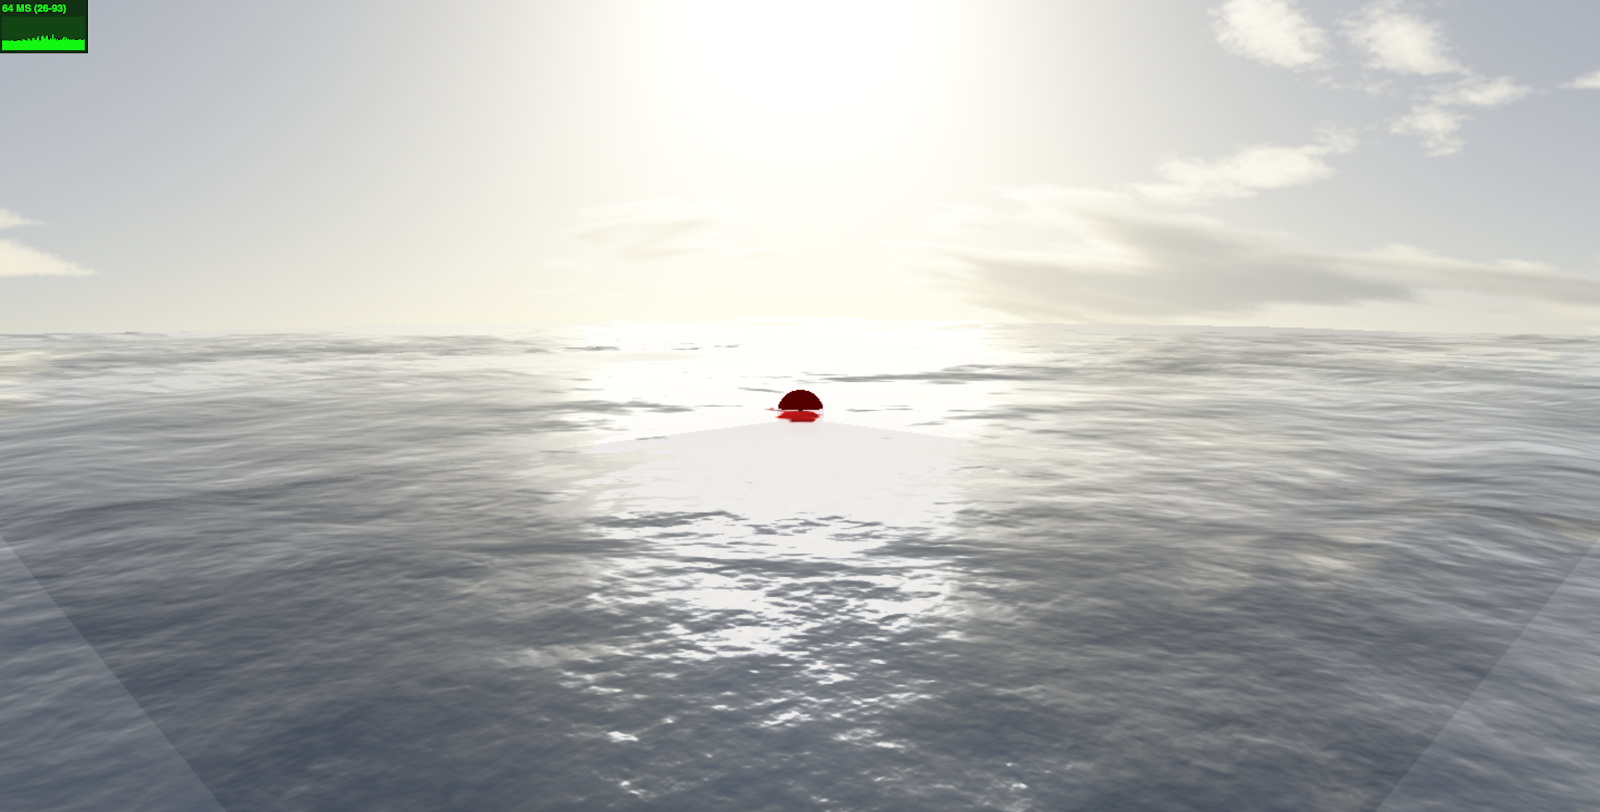
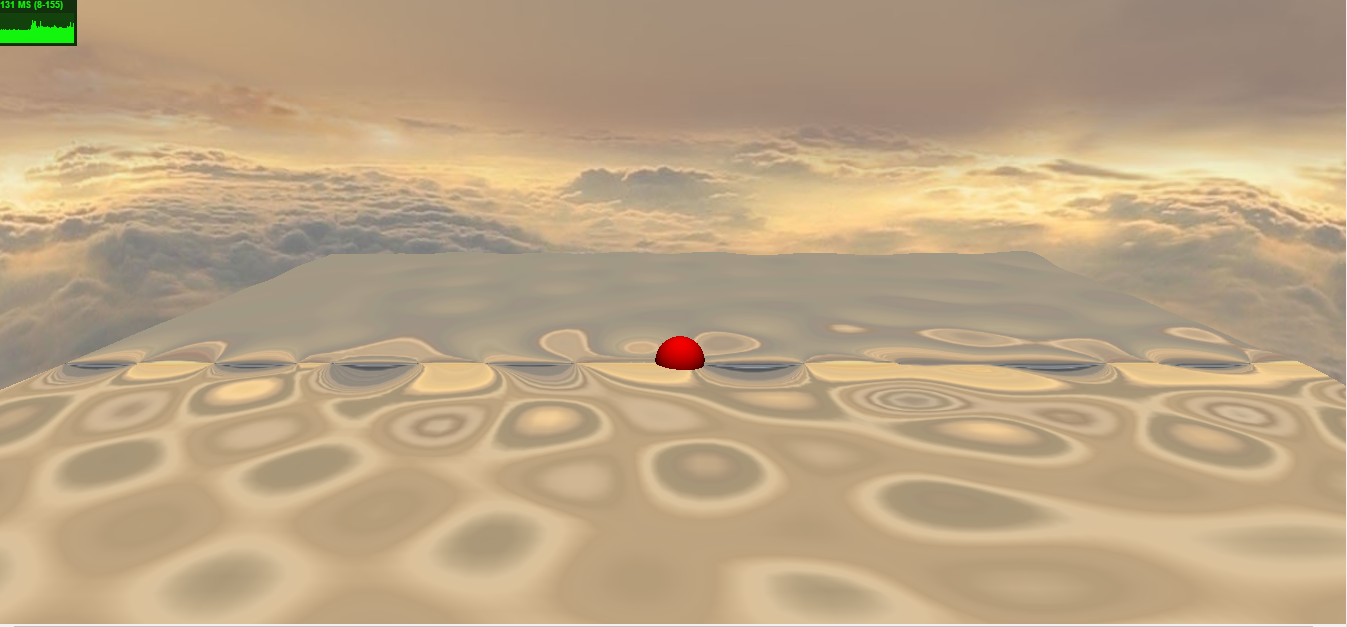
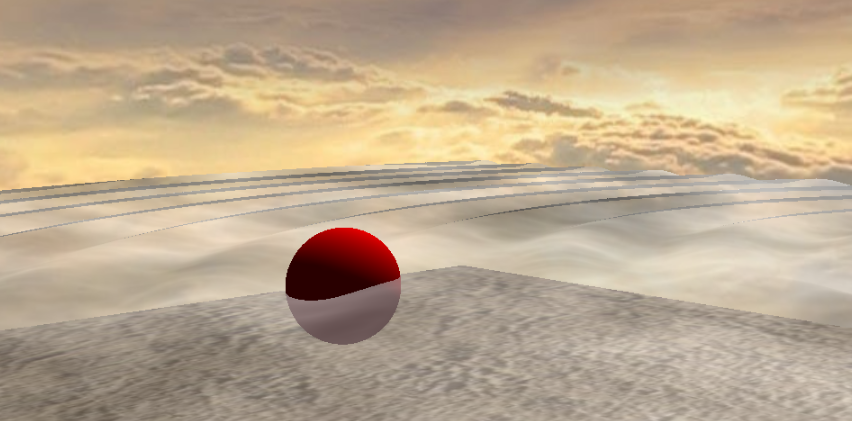
We implemented rain by the use of a particle system and a new scrolling normals texture map for the water surface. We started out by generating 100000 particles over the entire water surface at a certain minimum height. The particles accelerate downwards towards the surface when they reach y-position 0 the velocity is reset to 0 and the position randomly reset. Upon impact the raindrops should of course generate ripples on the water surface.  It seemed unlikely that we would be able to handle so many epicenters. Firstly the wave equation is rather costly, but this could have been circumvented by limiting the affecting area of each ripple. However because the ripples are very small we would need a very high resolution mesh plane to be able produce said ripples, as per the Nyquist frequency. Instead we decided to find a scrolling normals texture map that would give the impression of ripples. The sudden change in the water surface, meant that we had to tweak the rainfall so that minimum height for raindrop generation is at surface level.


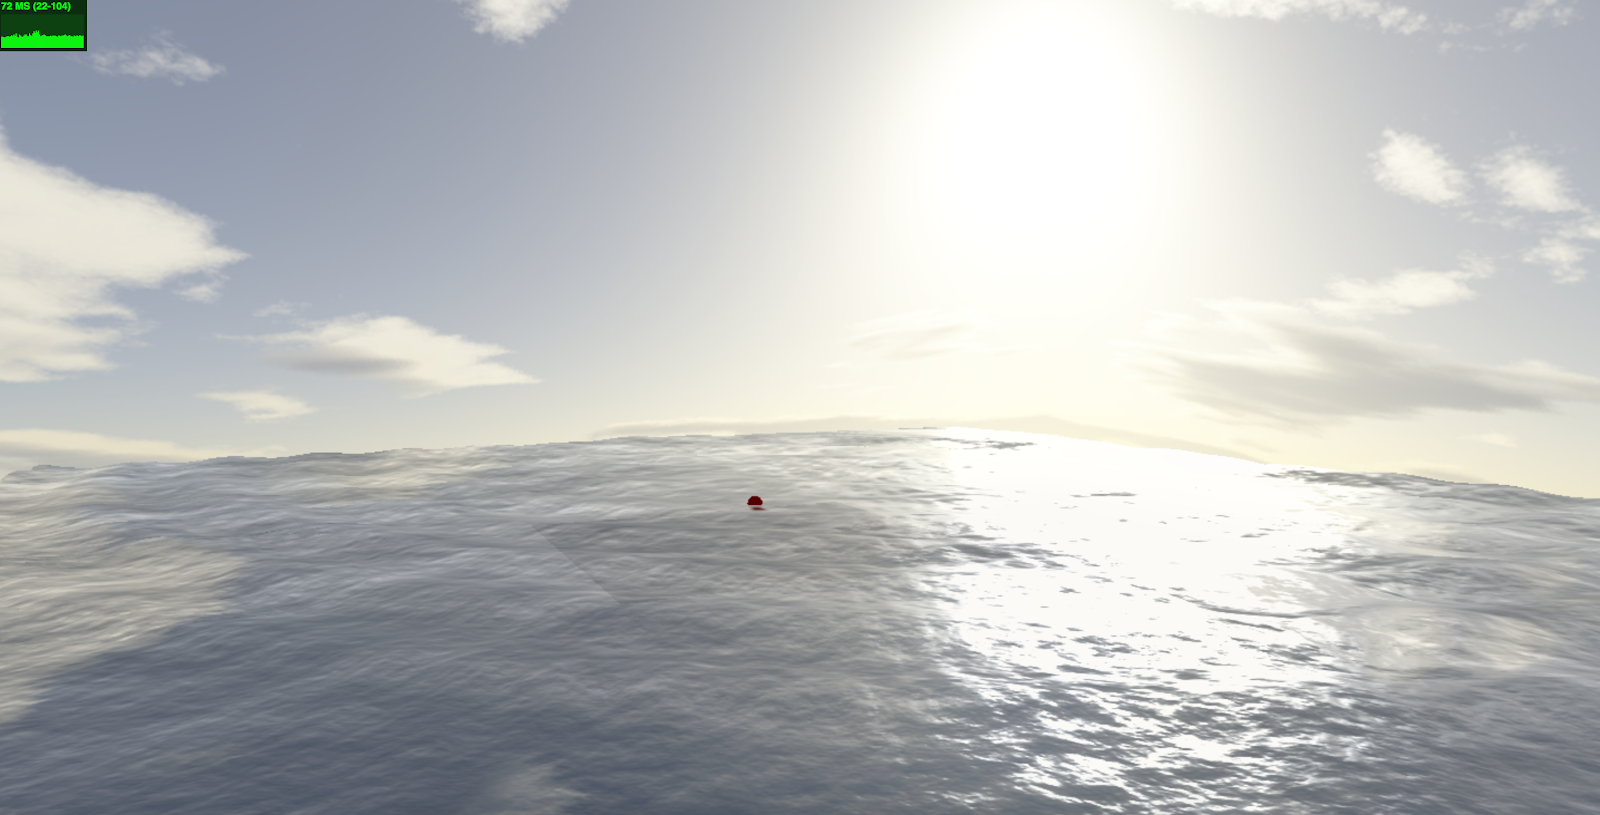
The first attempts yielded an acceptable framerate, but only when there were no balls or waves in the water. To accommodate this we reduced the amount of particles to 50000, however the rain became significantly less intense. This was then further improved by limiting the area of rainfall, at a certain distance the individual raindrops are too small to spot anyway. We reduced the area to a 1000x1000 area around the camera, ¼ of the previous area. The camera position is taken into account when the drops a reset. This allowed us to reduce from 50000 to 30000 raindrops, yielding a much better frame rate and more intense rainfall.

Because the rain keeps falling straight down, the camera can actually outrun the rain if it moves fast enough, but we don’t see that as a problem,since one can actually do the same in real life. A very curious bug has however been observed. For certain camera movements the particle system becomes invisible, we have not been able to isolate the specific conditions.


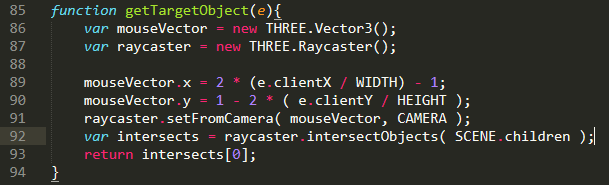
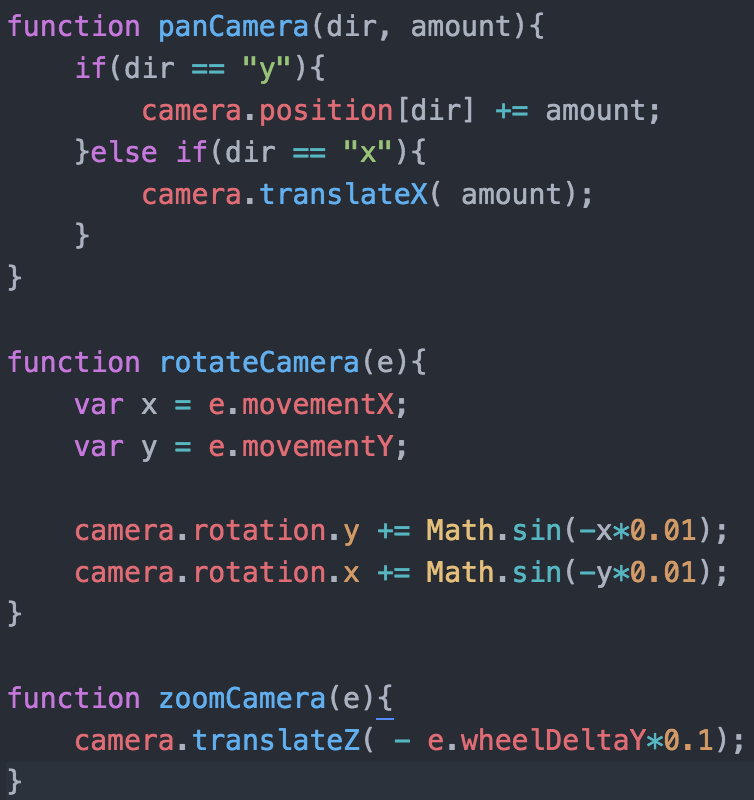
We have also improved the camera controls and feature which locks the camera to the mouse cursor when pressing the L-key.

This is the last blog post in this project. One could spend a lifetime trying to perfect water simulation. It has been a great learning experience and even though there is a lot of improvements that could be done, we are happy with the results of this project. We feel that we’ve come quite far, especially since none of us had any prior experience in graphics programming and we are very excited to explore the potential of computer graphics in a web browser. This project might be over, but we are all excited to get started on new graphics project, this is just a taste of what’s to come.

//Calle, Emil & Kevin

Link to live demo:

fredag 27 maj 2016

Weekend!

Day 4 & 5

This post will sum up the progress of day 4 and 5 of the project work!


After several attempts to implement an own shader which would be applied on the water surface, we ended up implemented a water shader made by threeJS. We have put some efforts into understanding how shaders work in Three js, which basically uses WebGL. However with the gained understanding of how it works and with some basic own implementation of shaders we realized that using someone else’s work would be beneficial for the project to proceed. To make a shader that mimic realistic water could be a whole project on its own. So we decided to go with the shader Ocean by Jbouncy (https://github.com/jbouny/ocean) which he actually base on others work. After some struggle with both understanding how it worked and how to fit it into our code we finally got it to work with a moderate-to-good result. Our water now looks like this:
Another shallow change that has happened is that we put in our own skybox to make the view a bit more appealing and to get the blue color which is a reflection of the sky.


The threeJS shader also has a built-in animation of the texture that is applied on the surface of the plane. The texture is shown in the image to the left and is made up of red and blue colors that form a structure similar to that of waves on the ocean. The shader then applies a noise effect on the structure, depending on time, which results in a illusion of the structure moving and thus makes the surface of the waterplane look like it is moving.


We also applied a blue color on the shader which helps making the surface look more realistic.


Further implementations is described now:


  1. A user can add several spheres by right-clicking on the water. A sphere is then created some feets above the water surface and drops into the water, creating an epicenter that generates waves.
  2. In our animate function, we reordered what was happening in our for-loops. We realized that the way we had written code was fairly costly, and could be improved with some handling of the logic there.
  1. We started to look at how to make the ball move in the x- and z-axis of the plane when it is hit by waves. Using the normal of the face that is closets under the sphere. Depending on the normal we effect the speheres speed in the xz plane.
  2. Examined different possibilities with creating rain in the scene. After some attempts of adding a lot of small spheres which resulted in a quite laggy experience we decided to look into implementing a particle system which could be designed as raindrops that hits the water surface.


How to proceed
For the next session we will look into threePoints and sprites, and how to create raindrops which would create small epicenters when hitting the surface of the water.

In summary

  • Implemented Three Water shader
  • Scratched our own shader after too many attempts to make it work.
  • Added a new sky box
  • New function where a user can add several spheres
  • Examined sphere lateral (x-, z-axel ) movement
    • recalculate normals of faces every frame
  • Changed the order of logic in the animate function() to optimize the runtime
  • Begun looking on how to implement rain

Day 3 - Multiple epicenters!

Today we all met and sat down with the project. Today we continued to discussed how to make our project more like real water. One of the main weaknesses was that our model could only handle one epicenter at each time. Another was that we haven’t done anything concerning refraction and reflection on the water surface.
Skärmklipp 2016-05-20 12.16.20.png
Epicenter class
To be able to handle and model more than one epicenter of the waves we need some way to represent and store the information for each epicenter. We decided to make a “class”/prototype for the epicenters. In these objects we store the information needed to model the waves from the epicenter, such as magnitude, decay, wavelength and start time.
List of all epicenters
With a decided way to represent and store the epicenter it is possible for us to place the objects in a list that we can go through when displaying the scene. However because of the fact that waves lose strength they will at some point have a magnitude of 0 and should be removed something we haven’t handled yet.
Improved Floating function
Last time we had a floating function that used the distances over/under the water surface to determine the velocities, “bounces”, on the water. This was refined by using the volume of the sphere that is under the surface of the water and then the lifting force is calculated. This is a more correct way of doing it. This approach is done with the sphere at the moment but could be implemented to other shapes if we decide to implement it later on.
Wave propagation
One thing that was a bit unrealistic in our scene before today was that when we started a new wave it immediately filled up the whole scene. With our new approach the wave starts from the epicenter and then propagate outwards.
Shader for the water surface
Today we continued to work on a shader for the water surface and we came to some result. The last couple of days we have investigated basically how we can use shaders in THREE.js and even if the one used today was one of their standard shaders we have come a long way of understanding how we can modify it for our project. We have understood that shaders itself could be a project of its own. Especially if you should account for all the characteristics of water: refraction, reflection, absorption reflectance, caustics and scattering.
Skärmklipp 2016-05-20 12.16.20.png
First version of water surface shader.


At the moment our shader is not at all perfect however to get some reflection in the surface made a huge difference. However the surface looks like it is made of two segments something that looks really strange especially when the water is still. We might decide to make some small movements on the water even if no epicenter or movements are made.


Summary

  • Epicenter class
  • List of all epicenters
  • Improved floating function
  • Wave propagation
  • Shader for the watersurface

onsdag 18 maj 2016

Day 2 - It floats!

We started out the some superficial improvements to the scene such as adding a plane with a sandy bottom texture beneath the water and adding a sky box. We also changed the water texture. These improvements are by no means final, we are simply testing out different ideas as we go along. Either way the scene undoubtedly looks a lot better than day 1. We have also investigated refraction and lighting effects further but have little to show at this moment.


First interactions

Today we have taken our first step towards an interactive water surface. We have created a click function that allows the user to set the epicenter of the sinus waves. In order of achieve this we’ve implemented an event listener that captures the mouse click event. We then use then convert the mouse screen coordinates to coordinates in the near plane. A ray is sent out from the camera origin to figure which object in scene it intersects first.


Secondly using the same principle for detecting target we have implemented a drag function on the ball which translates the sphere in the xz-plane.

We’ve noticed that the camera controls are a bit unintuitive, but decide to leave them as they are for know and focus on the scene instead.  

It floats!

We have investigated a series of possibilities for having a floating effect on the sphere. Thus far the sphere floats only in y-direction, lying completely still in the xz-plane. The first idea was to simply calculate the y-position in the same manner as for the vertices that make up the water surface. Because we made these calculations based on the center of the sphere it didn’t look quite natural. This was improved by putting it slightly out of phase. This solution did however seems a little bit to hard coded so we moved on.

We did some experiments of implementing a physics plugin. We had some success with this, but felt that we wanted to investigate further how we could create our own floating effect. The third idea was to accelerate and decelerate the sphere y wise depending on whether the center was above or below the surface.
We had decent results with this approach. Next step should be to more accurately mimic world physics by having a constant gravitational pull on the sphere and an upward force dependant on the volume of the sphere which is submerged, per Archimedes principle.

How to proceed

We will continue to investigate lighting effects, we will likely implement different shaders for the surface and bottom respectively. We should continue working on gravity and floatation physics. The waves should be improved by supporting several epicenters simultaneously. We might also look into wave shape alternatives other than the sinus waves.

Summary

  • Implemented sky box and bottom plane
  • Implemented click function to set epicenter
  • Implemented drag function on the sphere
  • First attempts at physics
  • Changed the water texture

// Kevin

tisdag 17 maj 2016

The motion in the ocean - Day one of the project

Today we sat down for the first time to start the project. To get started we all sat down and started to implement a scene together with a plane and a sphere. This process went better than we had predicted and by the end of our four hour session we had also started to work on camera movement, a moving light source, and investigate wave functionality on a plane.


One of the aims of the project, besides creating a smooth, good-looking, 3D scene, is to examine how a user perceives a 3D rendered water surface. Today, we discovered, that a surface made up of only 4x4 segments, looked almost as good as one made up of 512x512, when a simple wave function was applied to the plane. We did not have time to discuss this phenomena thoroughly, but will explore this further on in the project.

Camera movement and rotation

The movement and rotation of the camera object was handled as follows:


In the panCamera function we take 2 parameters, a direction and an amount. Depending on the direction we then change that attribute of the cameras position with the corresponding amount. This function is called on WASD with the keyDown event.

RotateCamera is called on the mousedrag event and then we change the rotation matrix of the camera object with a sinus function.

The zoomCamera function is triggered on a scroll event, and depending on what direction (wheelDeltaY) a user scrolls, we can translate the z-position in the correct direction.

Wave functionality

A problem we faced when implementing an animation of the vertices that the plane consists of was that we mixed up local and global coordinates. As you can see in the code to the left the height of the vertices is depending on the vertices z-coordinate. This is due to the fact that when the plane is created, its y-axis is pointing up and therefore the plane is drawn vertically to the user. We then rotated it 90° which implies that the planes y-axis is pointing inwards, in the same direction as the global z-axis. Therefore, the height of each vertex on the plane is changed by its z-value. The height is also depending on a variable step which is incremented when a frame is rendered.


How to proceed

We need to start look at refraction on the surface of the plane. We need to create an environment (possible walls, a seabed, sun lighting etc.) that enhances the user experience and start to think about the physics of water and waves. If we want to create objects that can interact with our water surface we need to create colliders and implement physics of how the water should behave when a user, for example, drops a sphere into it,


Summary


  • Implemented a plane
  • Implemented a sphere
  • Implemented light source that moves
  • Implemented user controls - WASD and mouse with scroll zoom.
  • First attempts at creating waves
  • Started to look at refraction

// Emil